Configuring Lattice Settings
When I want to customize Lattice behavior, I want to access settings, so I can configure the model, search, and agent to my preferences.
Introduction
The gap between “installed” and “productive” is where many tools lose users. Generic defaults might work for demos, but research engineers need precision. Lattice’s settings system is designed for progressive disclosure—sensible defaults that work immediately, with powerful customization accessible in seconds.
Step 1: Open the Settings Modal
Click the gear icon in the header or use the keyboard shortcut Cmd+,. The Settings modal opens with a sidebar navigation showing all configuration categories.
The first time you open Settings, you’ll see a warning banner if required API keys are missing. Lattice needs at least one LLM provider key to function.
Step 2: Configure API Keys
The API Keys section is first for a reason—start here.
Adding an Anthropic Key:
- Paste your API key in the Anthropic field (starts with
sk-ant-) - Click “Validate” to test the key
- A green checkmark confirms the key is valid
- The key hint shows
sk-...last4for reference
Additional Providers:
- OpenAI: For GPT models and embeddings
- Google AI: For Gemini models
- Ollama: For local models (enter your Ollama server URL)
Keys are encrypted at rest and never displayed in full after saving.
Step 3: Set Model Defaults
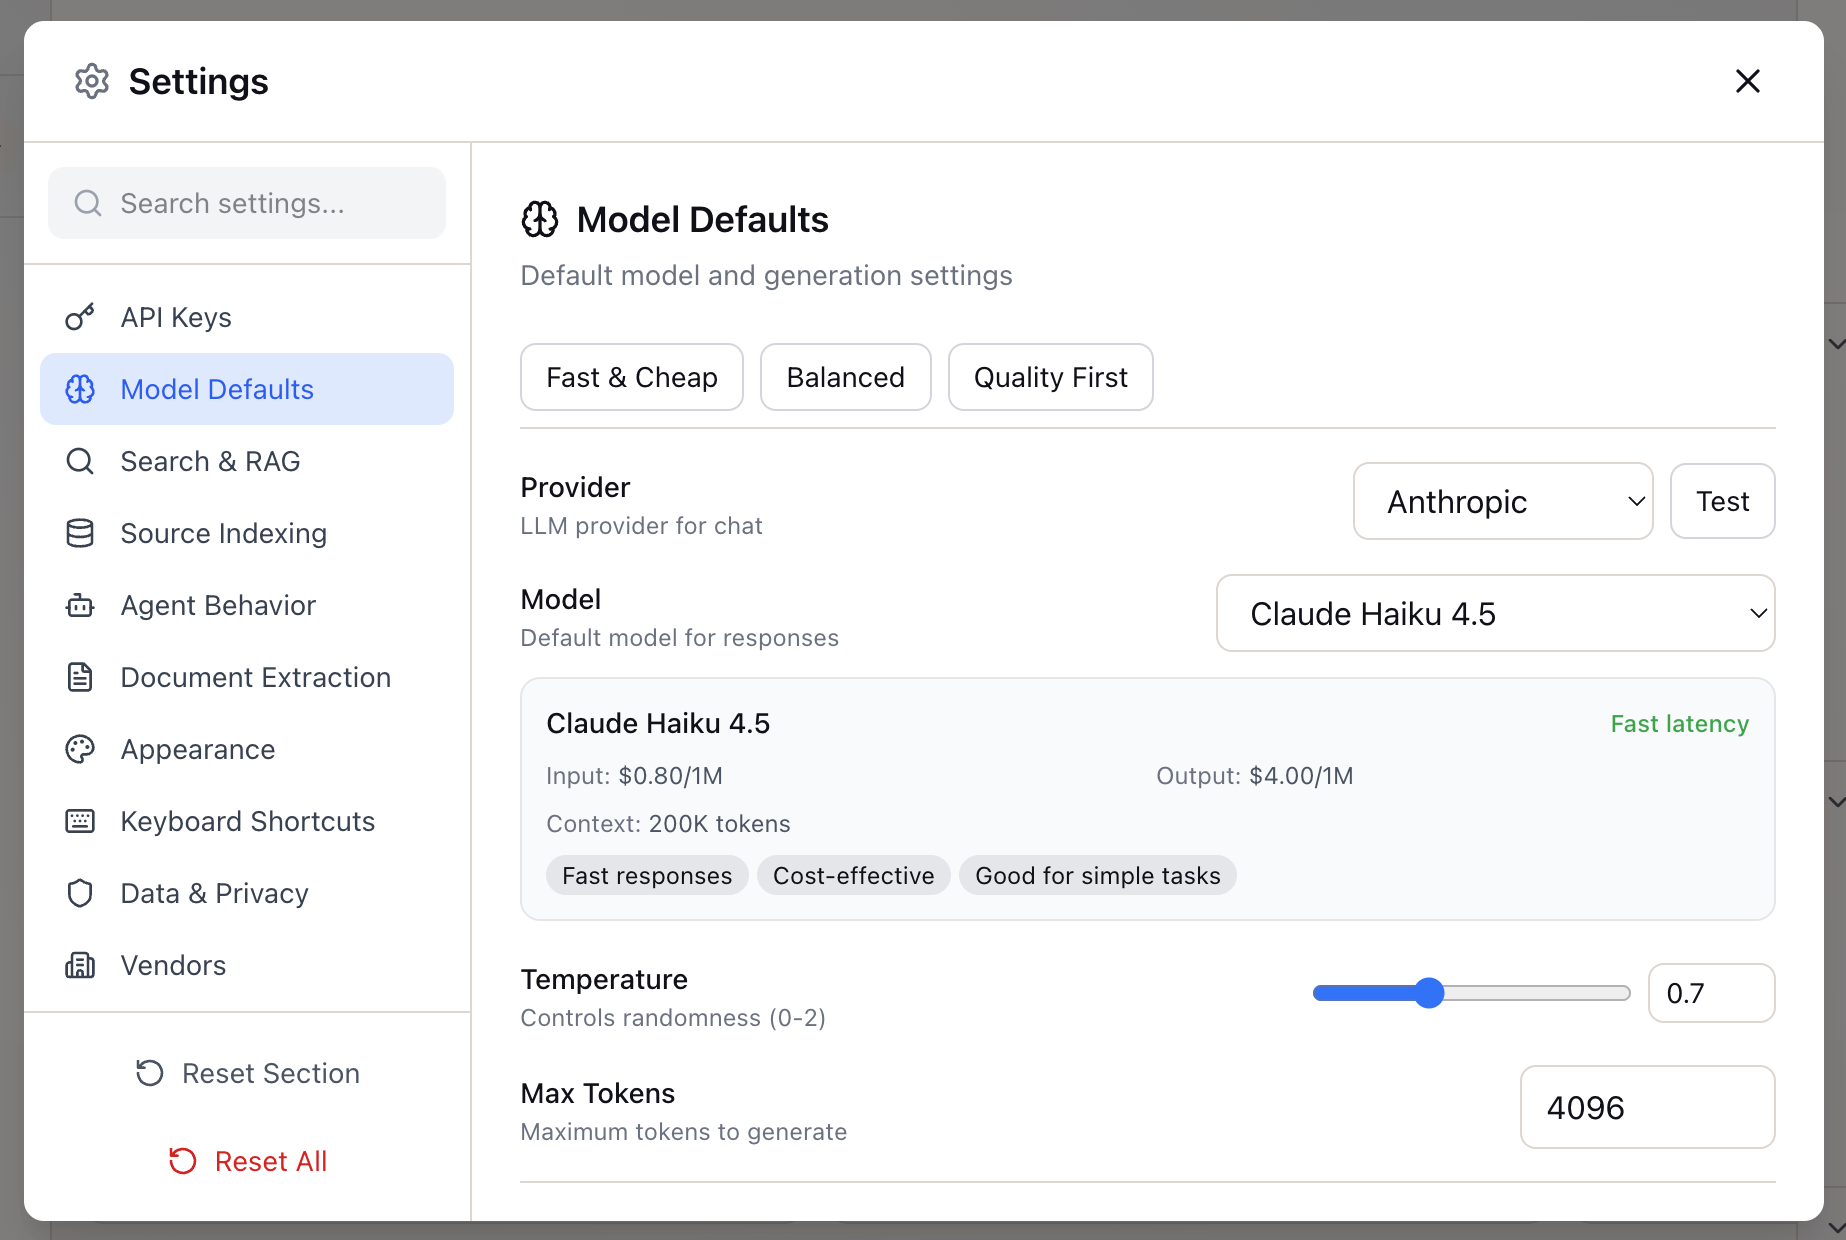
With API keys configured, move to Model Defaults. This section controls which model handles your research queries.
Quick Presets:
- Fast & Cheap: Low temperature, optimized for quick answers
- Balanced: Default settings suitable for most research tasks
- Quality First: Higher temperature, thorough reasoning
Provider Selection: Select from configured providers—Anthropic, OpenAI, Google, or Ollama.
Model Selection: Each model option shows:
- Pricing (input/output per 1M tokens)
- Latency characteristics
- Capability tags (Fast responses, Cost-effective, etc.)
Advanced Parameters:
- Temperature: 0.0 (precise) to 2.0 (creative), default 0.7
- Max Tokens: Limit response length (default 4096)
Step 4: Tune Search & RAG Settings
This section controls how Lattice searches your uploaded sources.
Search Mode:
- Hybrid (recommended): Combines semantic understanding with keyword matching
- Semantic only: Better for conceptual questions
- Keyword only: Better for specific terms
Search Balance Slider: Adjust the balance between keyword and semantic search:
- Default: 40% keyword / 60% semantic
- For technical docs with jargon, try 50/50
- For research papers, lean toward 70/30 semantic
Context Settings:
- Token Budget: Maximum tokens for context (default: 8000)
- Max Chunks: Maximum chunks in context (default: 15)
- Prioritize Recent Sources: Boost recently added sources
- Boost @Mentioned Sources: Prioritize sources referenced with @
Step 5: Configure Source Indexing
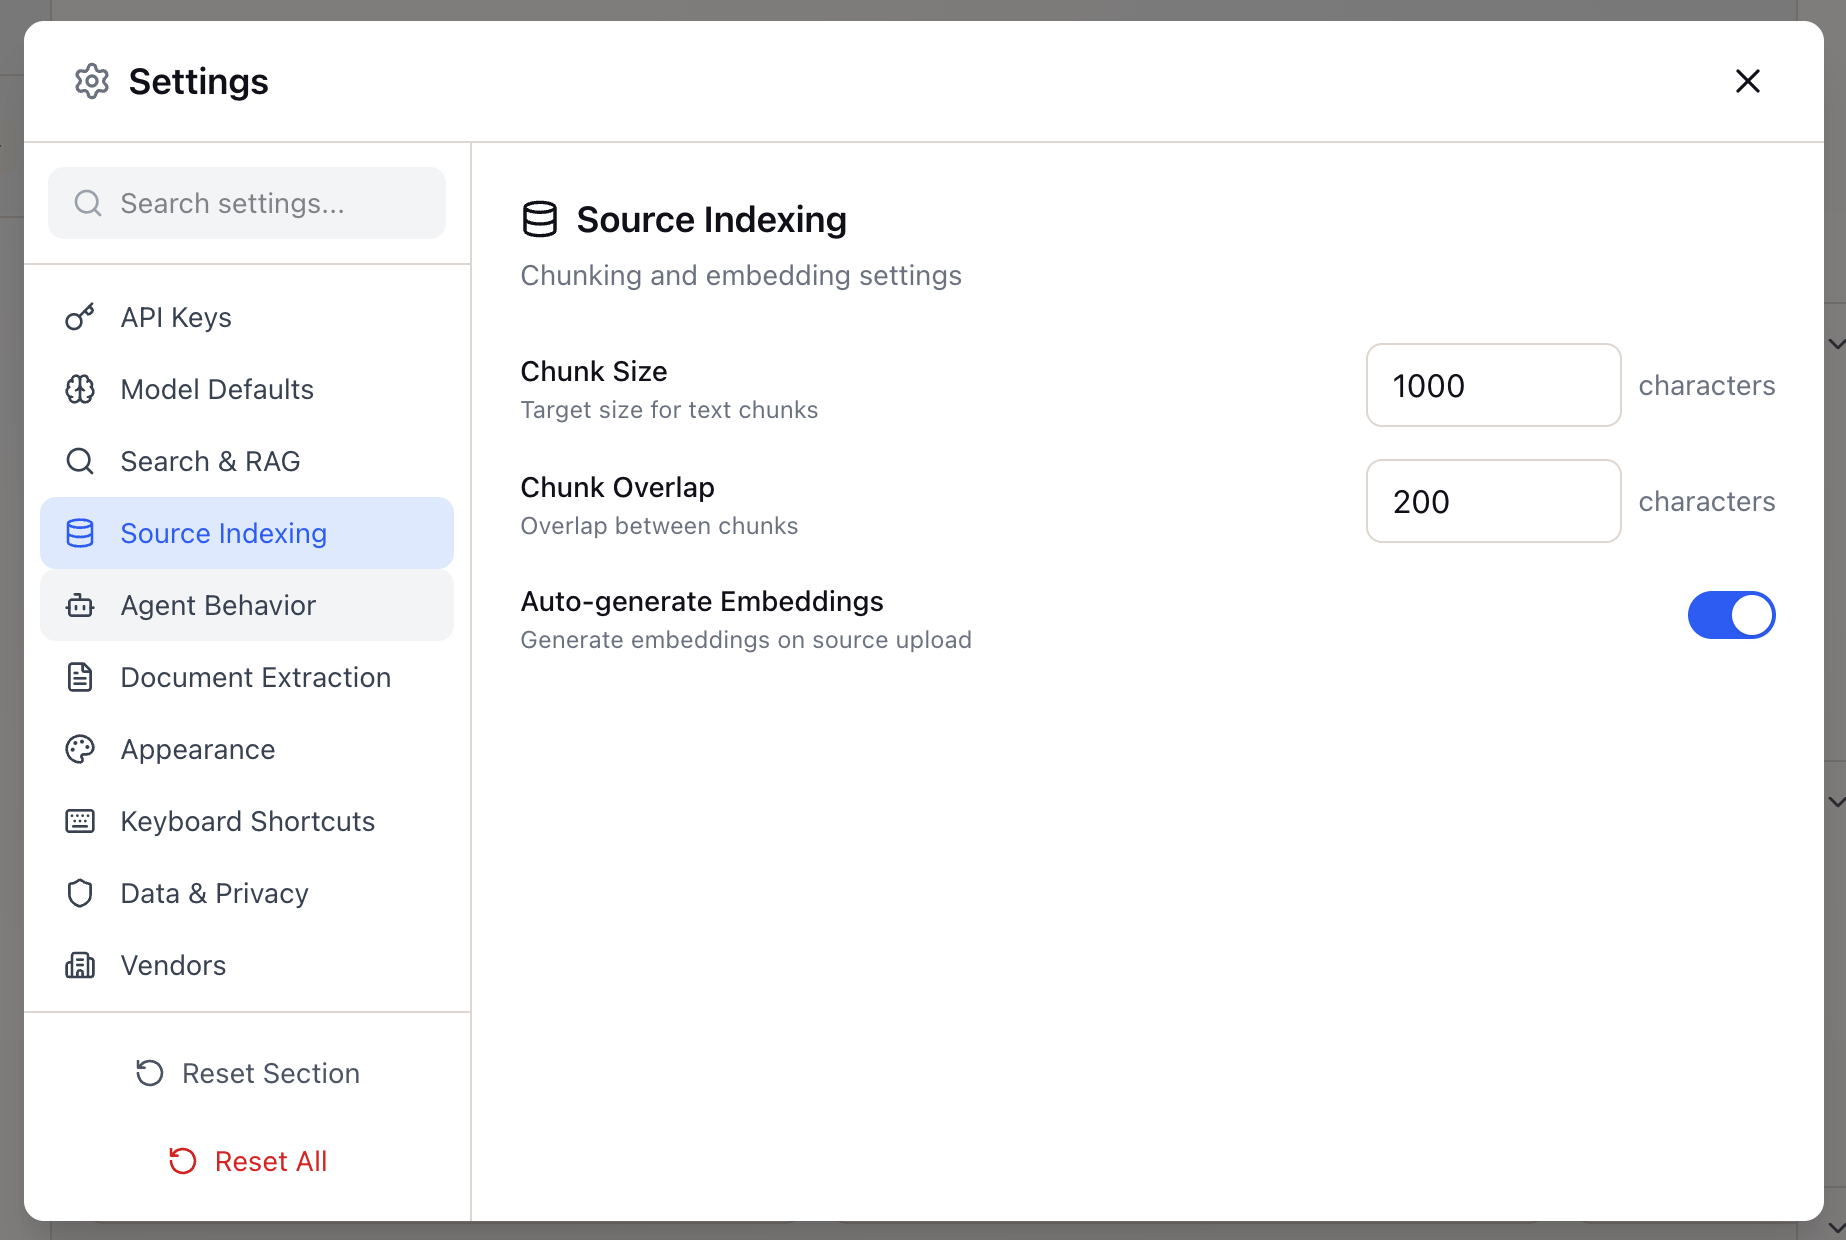
Control how documents are processed for search:
- Chunk Size: Target size for text chunks (default: 1000 characters)
- Chunk Overlap: Overlap between chunks (default: 200 characters)
- Auto-generate Embeddings: Generate embeddings automatically on upload
Step 6: Configure Agent Behavior

Control how the Research Agent operates:
Thinking Process:
- Show thinking: Display the agent’s reasoning steps
- Verbosity: Minimal, Standard, or Detailed thinking traces
Citations:
- Always include citations: Link claims to sources
- Max citations per response: Control citation density
- Citation style: Numbered, inline, or footnote
Step 7: Document Extraction
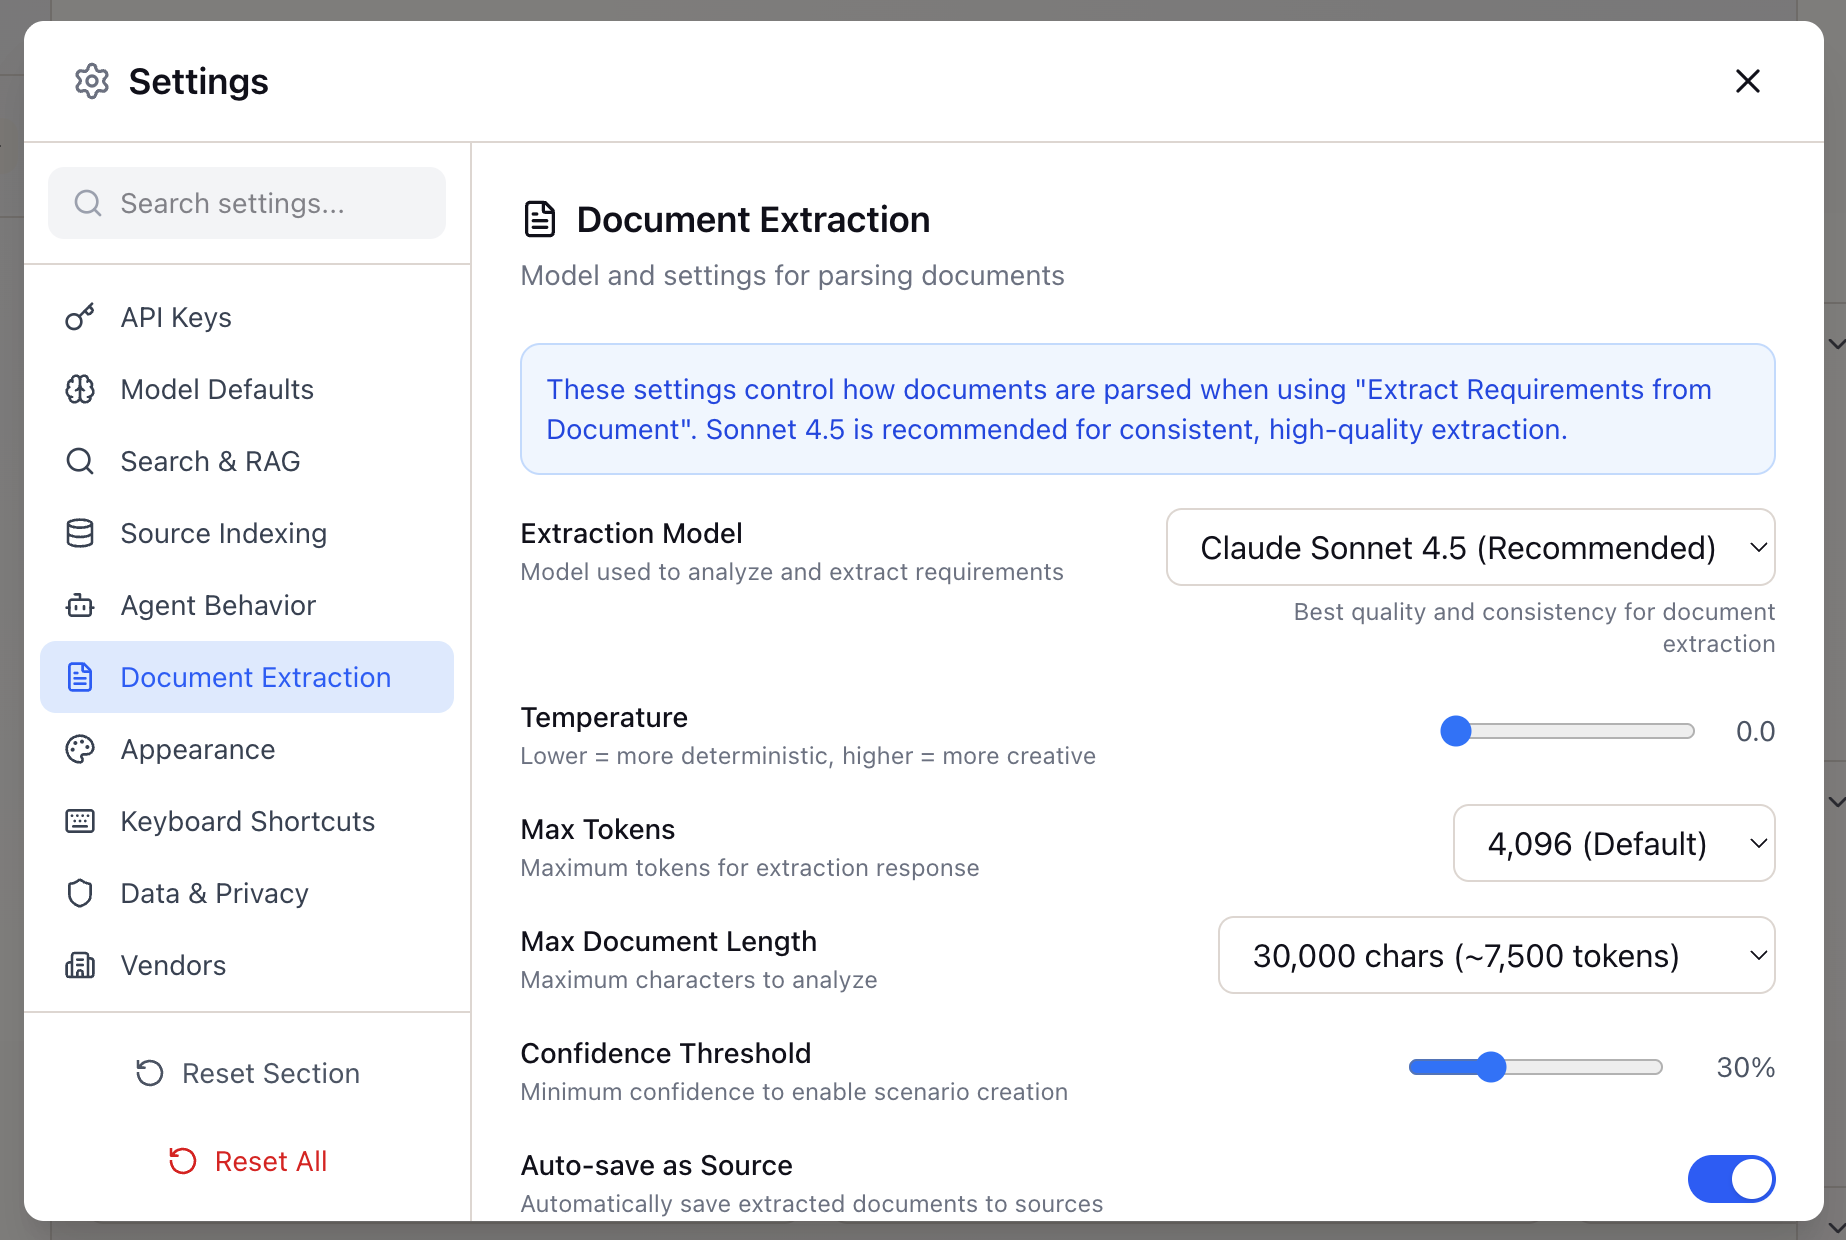
Configure how Lattice extracts content from URLs:
- Extraction method: Fast (trafilatura) or Browser (Playwright)
- Include tables: Extract table content from pages
- JavaScript rendering: Enable for dynamic content sites
Step 8: Appearance Settings
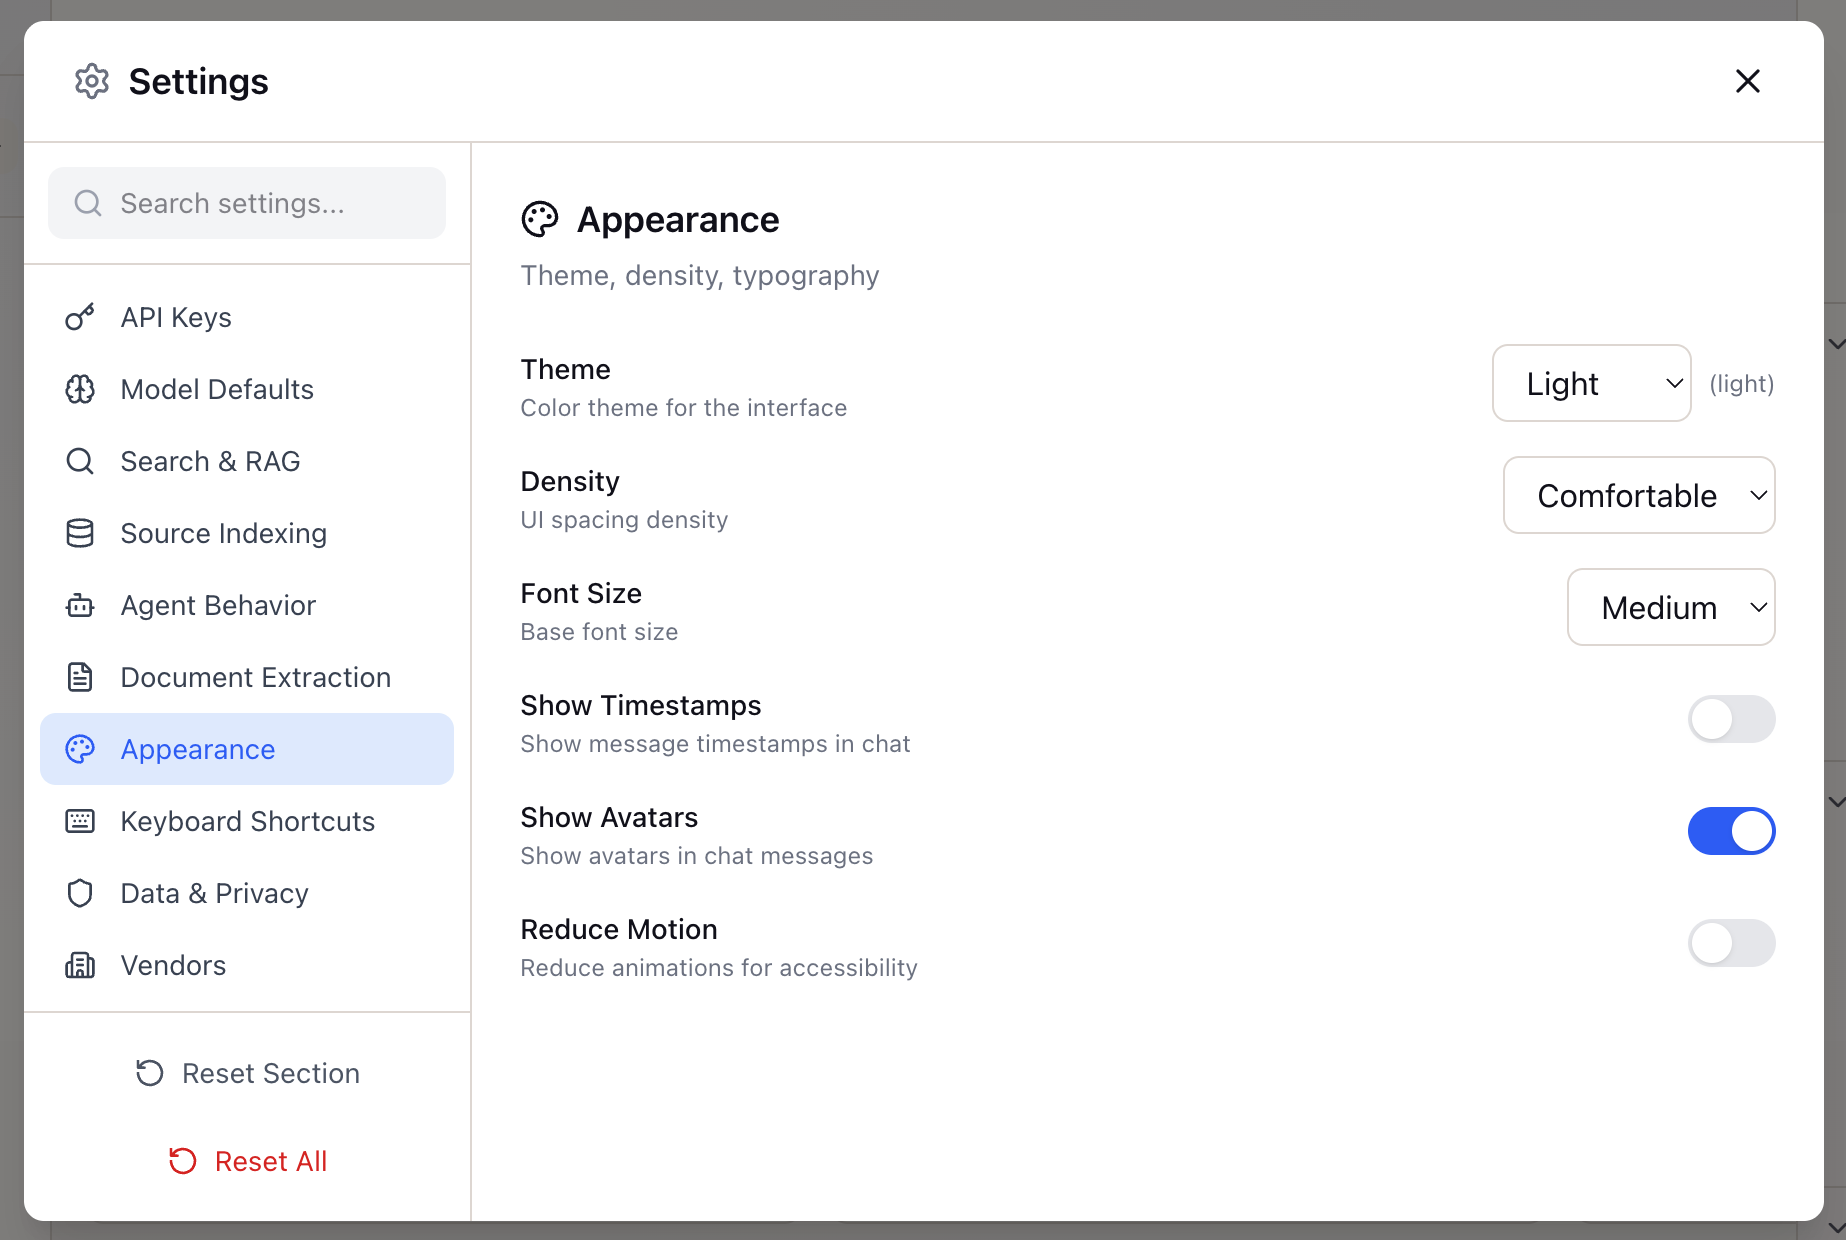
Customize the visual experience:
- Theme: Light, Dark, or System preference
- Compact mode: Reduce spacing for dense information display
Additional Settings
The Settings modal includes additional sections:
- Keyboard Shortcuts: View and customize shortcuts
- Data & Privacy: Manage data retention and privacy options
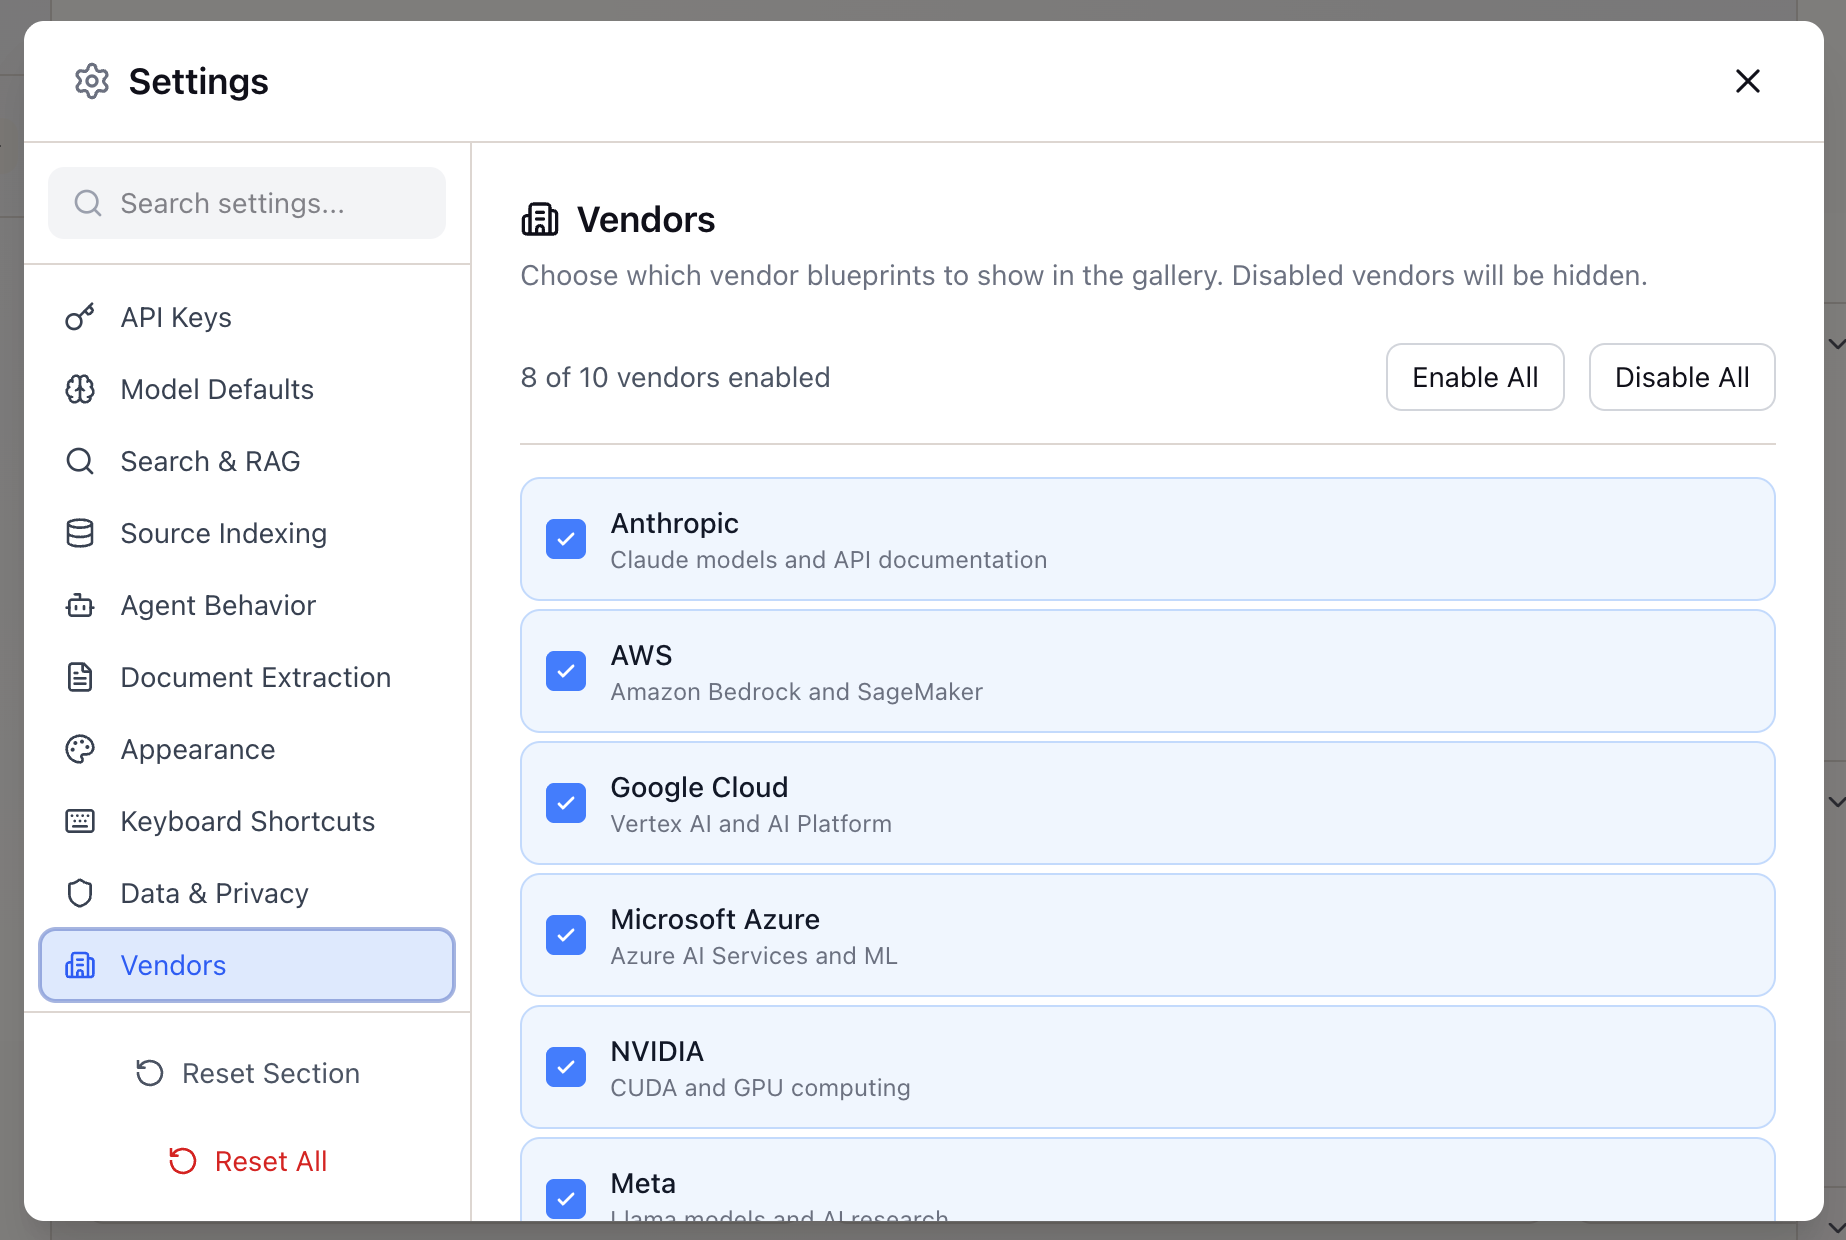
- Vendors: Configure vendor-specific integrations
Settings Resolution
Lattice resolves settings hierarchically:
- Workspace overrides (if defined)
- Global user settings
- Default values
This means you can set sensible global defaults and only override where needed for specific workspaces.
What You’ve Accomplished
Your Lattice instance is now configured to match your research workflow:
- API keys connected and validated
- Model preferences set for your use case
- Search tuned for your document types
- Agent behavior customized
Next steps: Create a workspace and start adding sources to begin your research.
Ready to Try Lattice?
Get lifetime access to Lattice for confident AI infrastructure decisions.
Get Lattice for $99