Creating a Stack
When I have defined my scenario requirements, I want to configure a complete infrastructure stack, so I can get accurate cost estimates and ensure my setup meets my performance needs.
The Challenge
You’ve defined a scenario with a 500ms P95 latency requirement and $5,000/month budget. Now you need to assemble a stack to meet those constraints. But which model hits that latency target? Which serving framework handles your throughput needs? Should you use H100s or is A100 sufficient?
For platform leads and research engineers, stack configuration is where abstract requirements meet concrete infrastructure. The problem isn’t lack of options—it’s too many options. Every choice (model, provider, framework, hardware) interacts with every other choice. Without a structured way to capture these decisions, configuration sprawl takes over.
How Lattice Helps
Stacks are Lattice’s answer to configuration sprawl. A stack captures your complete infrastructure configuration: which model you’re using, how it’s configured, what framework runs it, and what hardware powers it. Once defined, your stack becomes context for everything else—cost calculations, performance estimates, and agent recommendations all reference your stack configuration.
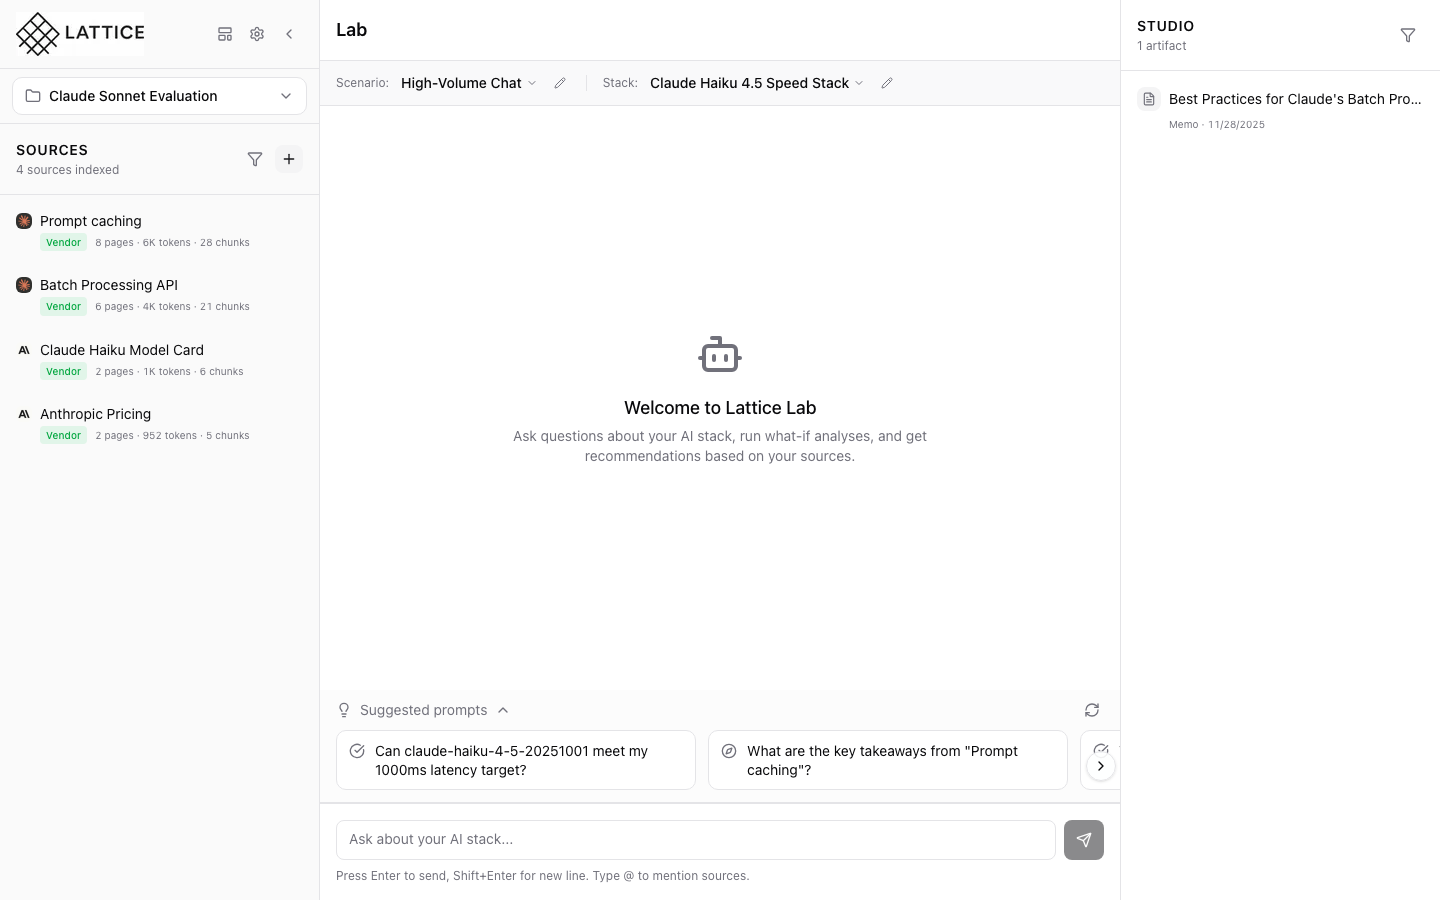
Step 1: Open the Stack Configuration Form
In the Studio panel (right side), find the Stacks section. Click the + button in the section header to create a new stack. The New Stack modal opens with a completeness indicator showing your progress.
The form is organized into collapsible sections:
- Stack Identity: Name and description
- Model: Provider, model selection, temperature, max tokens
- Hardware: Cloud provider, instance family, GPU type, region
Start by giving your stack a descriptive name like “My Production Stack” and optionally set it as your default stack for new conversations.
Step 2: Configure Model Settings
Select your model provider from the available options:
| Provider | Use Case |
|---|---|
| Anthropic | Claude models for reasoning and analysis |
| OpenAI | GPT models for general tasks |
| Google AI | Gemini models with large context |
| AWS Bedrock | Enterprise managed access |
| Azure OpenAI | Enterprise Azure integration |
| Mistral | Open-weight models |
| Cohere | Enterprise embeddings and RAG |
| Meta | Llama models self-hosted |
After selecting a provider (e.g., Anthropic), choose your model from the dropdown. The example shows Claude Haiku 4.5 selected.
Configure generation parameters:
- Temperature: 0.7 is a good default for balanced creativity
- Max Tokens: 4096 for typical responses, higher for long-form content
Step 3: Configure Framework and Hardware

Scroll down to configure your observability and infrastructure settings.
Observability Stack:
| Option | Features |
|---|---|
| LangSmith | LangChain-native tracing, debugging |
| Helicone | Logging, caching, rate limiting |
| Weights & Biases | Experiment tracking, model monitoring |
| Console | Basic console logging |
Enable Tracing and Metrics toggles based on your monitoring needs.
Hardware Configuration:
For self-hosted or cloud deployments, specify:
- Cloud Provider: AWS, GCP, Azure, Lambda Labs, RunPod, or On-Premise
- Instance Family: CPU General Purpose, GPU Optimized, etc.
- GPU Type: Select from H100, A100, L40S, RTX 4090, or No Accelerator
- Region: Deployment region (e.g., us-east-1) affects latency and compliance
- Use Spot Instances: Enable for 60-70% cost savings with interruption risk
Step 4: Save and Apply
Click Create Stack to save your configuration. The stack immediately appears in the Studio panel’s Stacks section and becomes available in the Context Bar dropdown for quick selection during chat.
Managing Stacks:
From the Studio panel, you can:
- Click a stack card to view full configuration details
- Set as default: The default stack is automatically selected for new conversations
- Edit, Rename, or Delete: Hover over stack cards to reveal action buttons
What You’ve Accomplished
You now have a complete infrastructure stack that:
- Captures your model, framework, and hardware choices in one place
- Provides context for accurate cost calculations
- Links to scenarios for compatibility checking
- Serves as the foundation for all Research Agent recommendations
What’s Next
With your stack configured, explore these related capabilities:
- Link to Scenario: Connect your stack to a scenario for compatibility validation
- Cost Estimation: Get accurate TCO projections based on your stack
- Stack Comparison: Create multiple stacks to compare configurations side-by-side
Stack Configuration is available in Lattice. Define your infrastructure configuration once and reference it everywhere.
Ready to Try Lattice?
Get lifetime access to Lattice for confident AI infrastructure decisions.
Get Lattice for $99