Editing a Scenario
When I need to adjust my workload requirements, I want to edit my existing scenario configuration, so I can refine my AI stack recommendations as my project needs evolve.
Introduction
In Lattice, Scenarios define your workload requirements—traffic patterns, latency SLOs, budget constraints, and compliance needs. As your project evolves, these requirements may change. You might need to handle more traffic, meet stricter latency targets, or adjust your budget constraints.
The scenario edit form provides direct access to all configuration options. From the ContextBar, a single click opens the full scenario configuration, letting you adjust any parameter while preserving your existing settings.
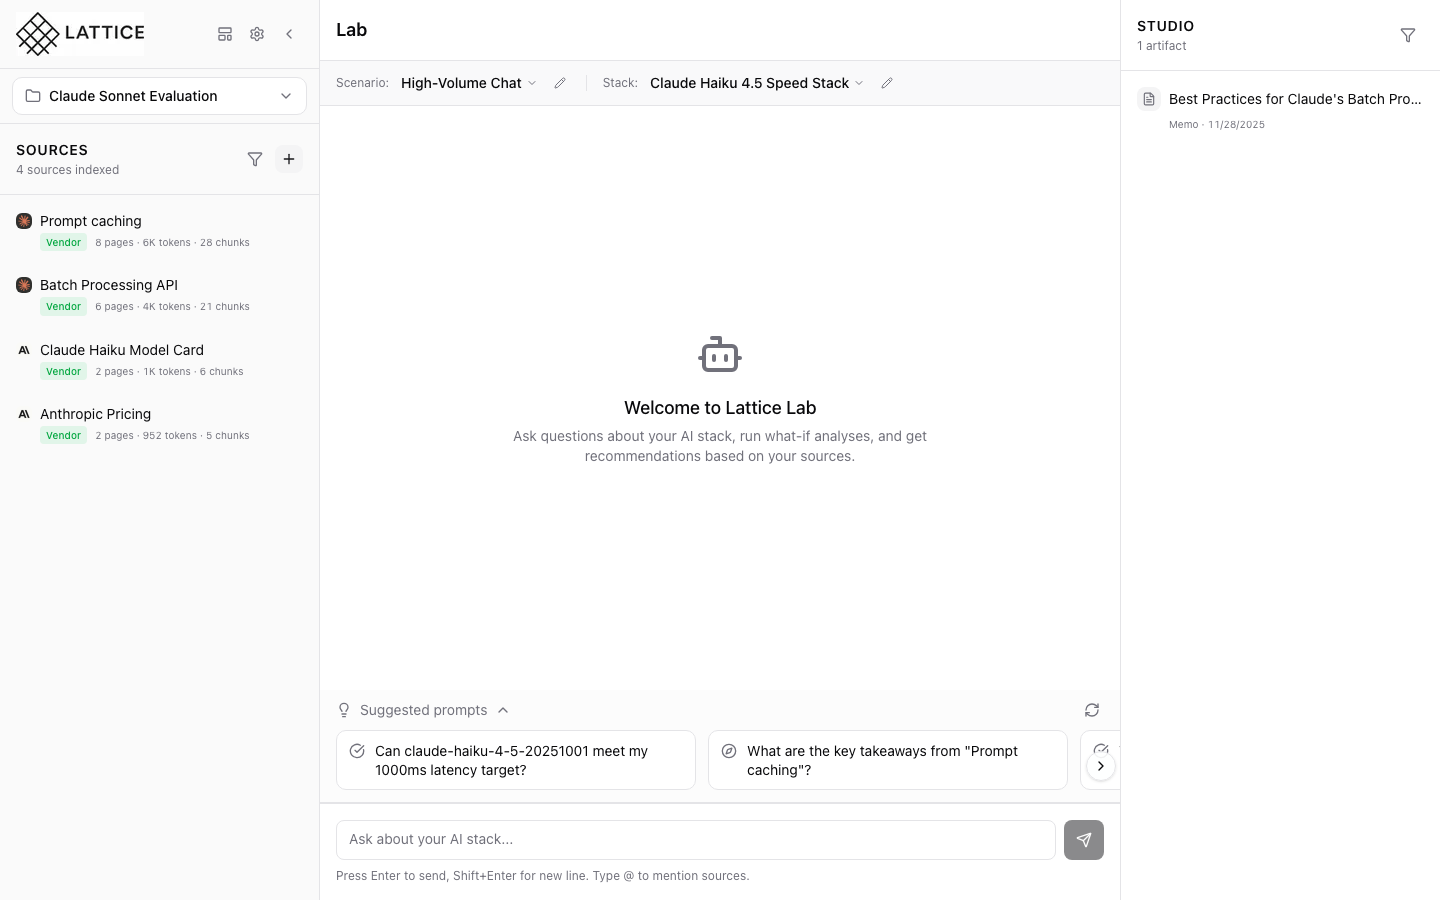
Step 1: Current Scenario in ContextBar
The Lab panel displays your current context in the ContextBar:
Current Configuration
- Scenario: “High-Volume Chat” with dropdown selector
- Edit Button: Pencil icon for quick access to the edit form
- Stack: Your paired infrastructure configuration
The edit button (pencil icon) next to the scenario name provides instant access to the scenario configuration form without navigating through dropdowns.
Step 2: Scenario Configuration Form
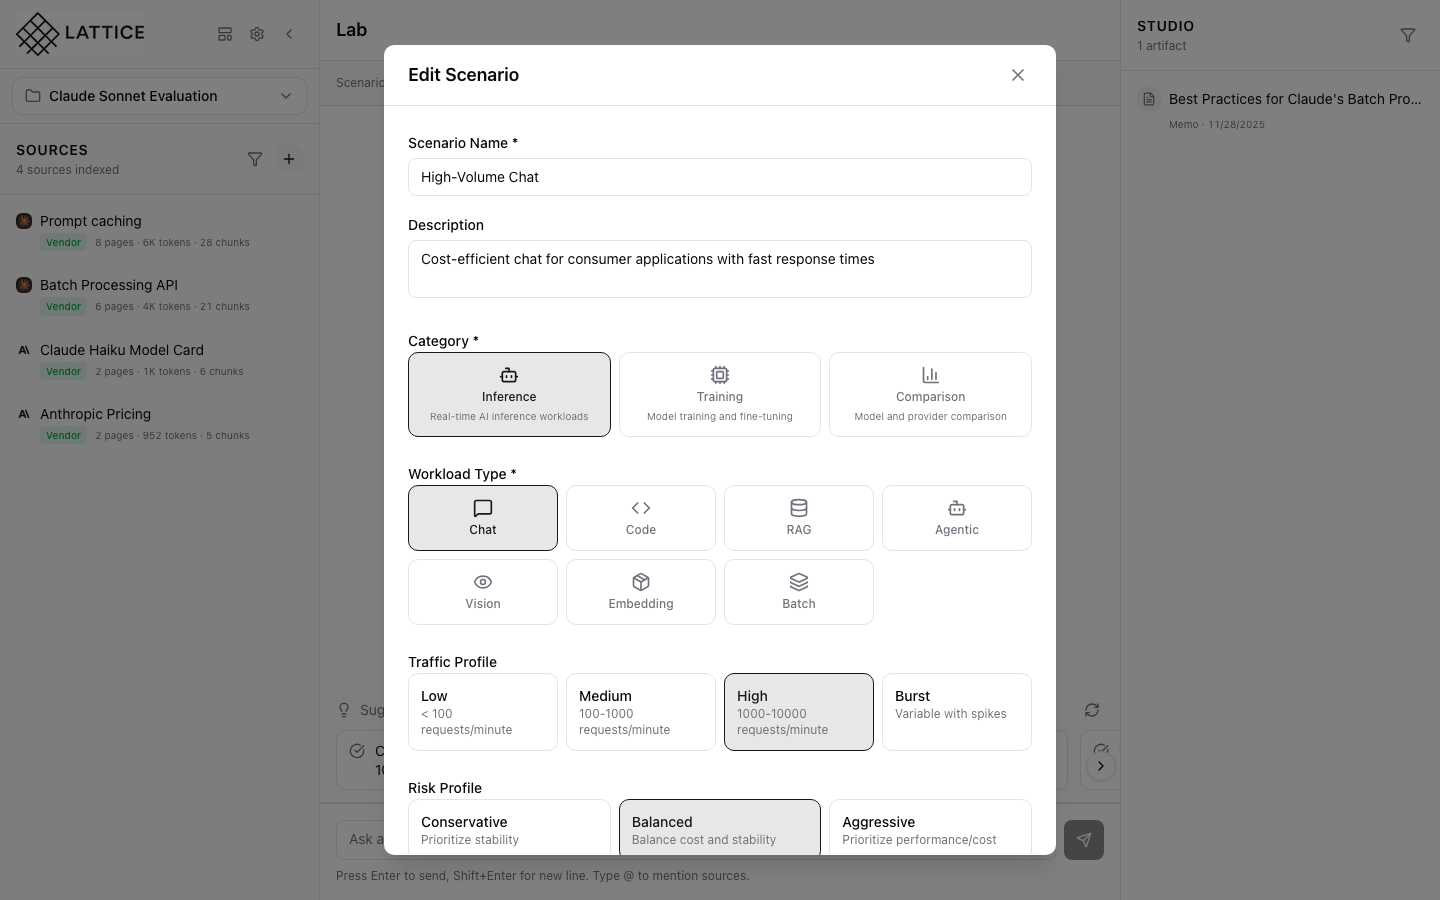
Clicking the edit button opens the ScenarioConfigForm in edit mode:
Form Header
- Title: “Edit Scenario” indicating you’re modifying an existing scenario
- Scenario Name: Pre-filled with current name
- Description: Existing description preserved
Workload Configuration
- Category: Inference, Training, or Comparison
- Workload Type: Specific type within the category (e.g., Chat, Code, Content)
- Pre-filled Values: All existing settings preserved for easy modification
The form opens with all your existing settings pre-populated, so you only need to change what’s different.
Step 3: Traffic and Risk Profile Settings

Scrolling reveals additional configuration sections:
Traffic Profile
- Requests/Minute: Expected throughput for your workload
- Burst Pattern: How traffic spikes should be handled
- Concurrency: Maximum parallel requests
Risk Profile
- Latency Sensitivity: How critical response times are
- Availability Requirements: Uptime expectations
- Data Sensitivity: Privacy and compliance needs
SLO Settings
- P50/P95/P99 Latency: Target response times at different percentiles
- Budget Constraints: Monthly or per-request cost limits
- Compliance: Data residency and audit requirements
These sections let you fine-tune your scenario to match evolving requirements.
What You’ve Accomplished
You’ve learned how to edit a scenario in Lattice:
- Quick access — Click the pencil icon in the ContextBar for instant editing
- Preserved settings — All existing values are pre-populated
- Full configuration — Access traffic, risk, and SLO settings
- Easy updates — Modify only what needs to change
Key benefits of scenario editing:
- Iterative refinement — Adjust settings as you learn more about your workload
- A/B comparison — Create variations of a scenario to compare recommendations
- Project evolution — Update requirements as your product grows
- Team alignment — Keep scenario configuration up-to-date with team decisions
Next steps: Adjust traffic profile to match production traffic patterns, or use “Suggest Stack” to get recommendations based on updated requirements.
Ready to Try Lattice?
Get lifetime access to Lattice for confident AI infrastructure decisions.
Get Lattice for $99